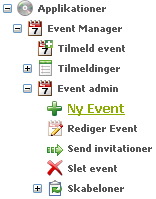
In the menu on the left click on "Applications", select "Event Manager" and then select "New Event":
Step 1 - Select the template to use for the company
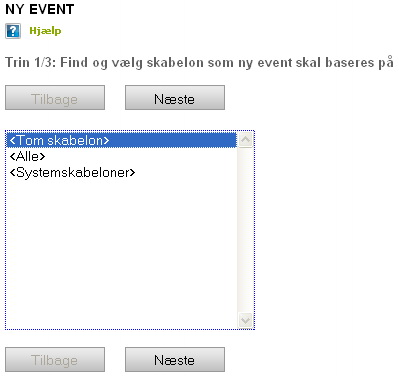
Choose e.g. "Empty template" and click "Next".
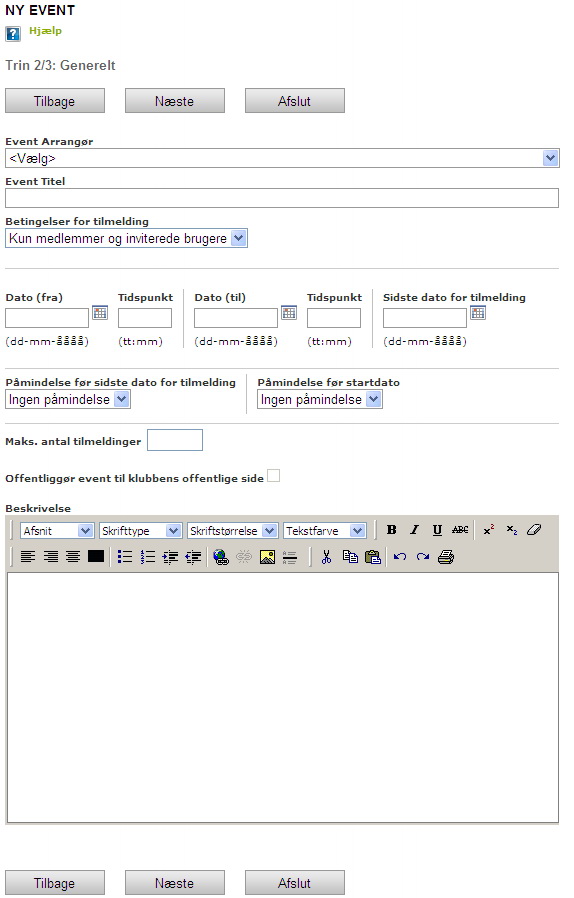
Step 2 – Complete the information about the event
It is important to note, that the company or group that is chosen as organiser, will be the company or group the event will belong to.
Below the "Criteria for registrations" you can choose, for example: "Members and invited users only". The the entire company can then register for the event, and any specially invited people - but no one else.
Additionally, you can set reminders, so all registered users will receive notification before the deadline for registration and/or before the event starts.
Upon completion click "Next".
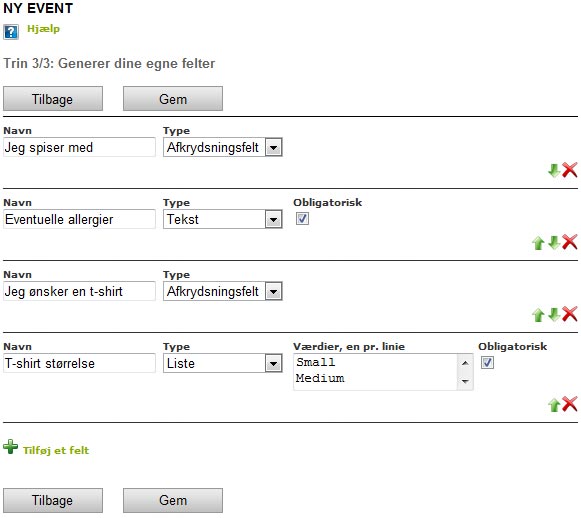
Step 3 - Extra fields (Only an option)
New extra option: Generate your own fields:
In this last step you have the option of creating additional fields for the event, by clicking "+ Add a field", users registering for the event will need to complete this. For example, it could be "Do you need transportation?" or "What size t-shirt do you want?". You can create an unlimited amount of fields of different types.
You can also choose to leave it as it is.
To create the event click "Finish".
Once created it's possible to send out invitations regarding the event. You can also invite people from other companies. They will receive a message and automatically have the option to register for the event.